
They fit perfect
"They fit perfect"

Harley 5x7 to 6x9 Speaker Adapter Kit for Factory CVO Lids 2014-2023 - No - I do not need the backbone harness is backordered and will ship as soon as it is back in stock.
Couldn't load pickup availability
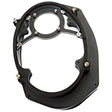
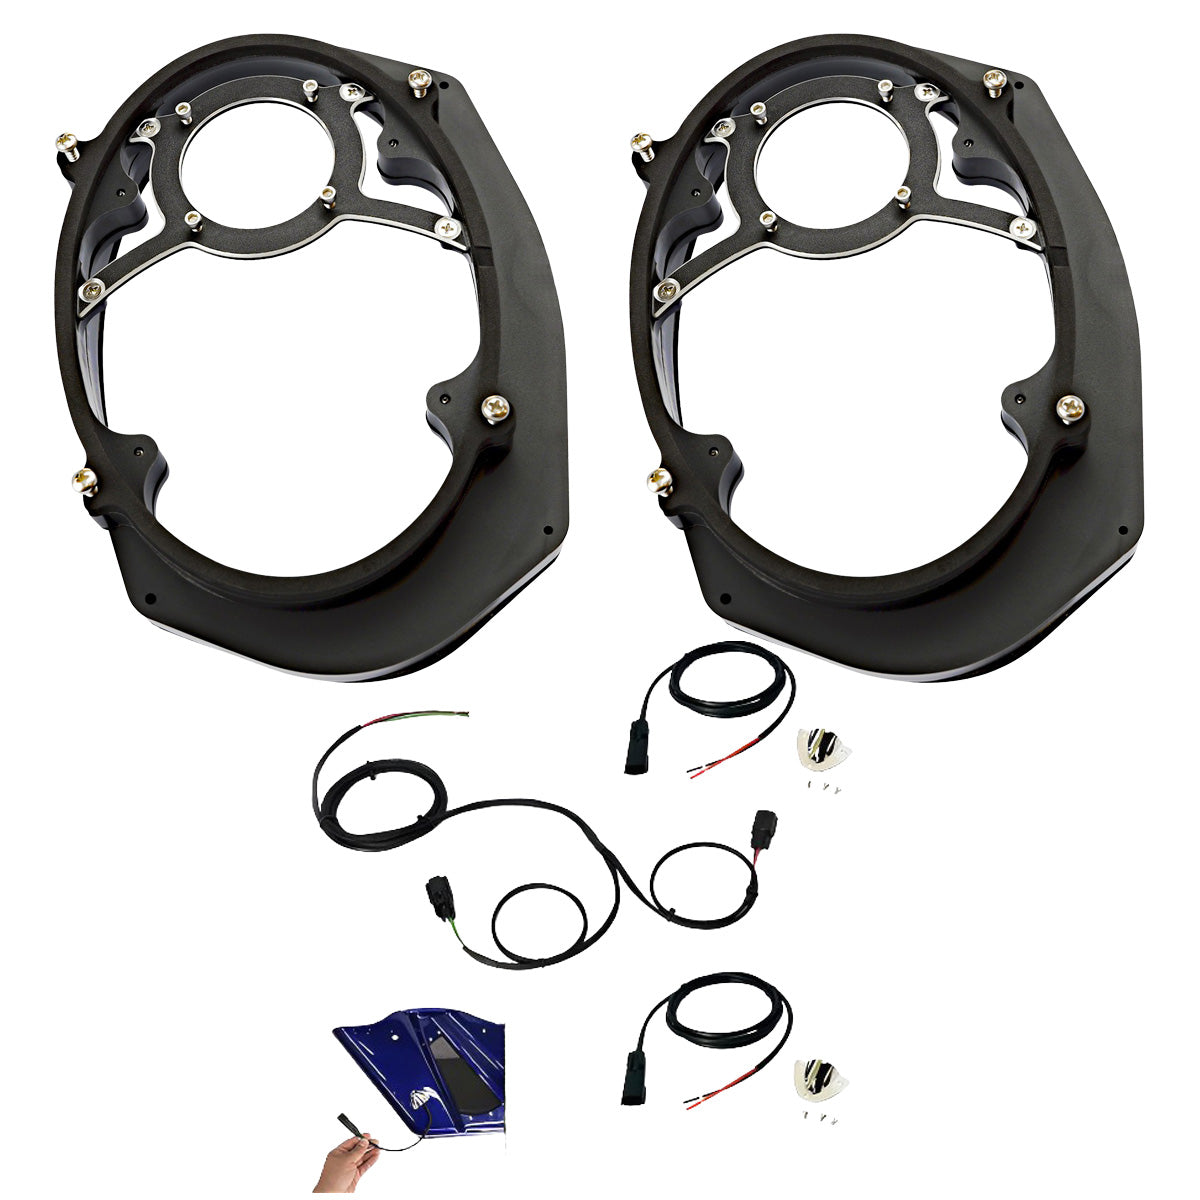
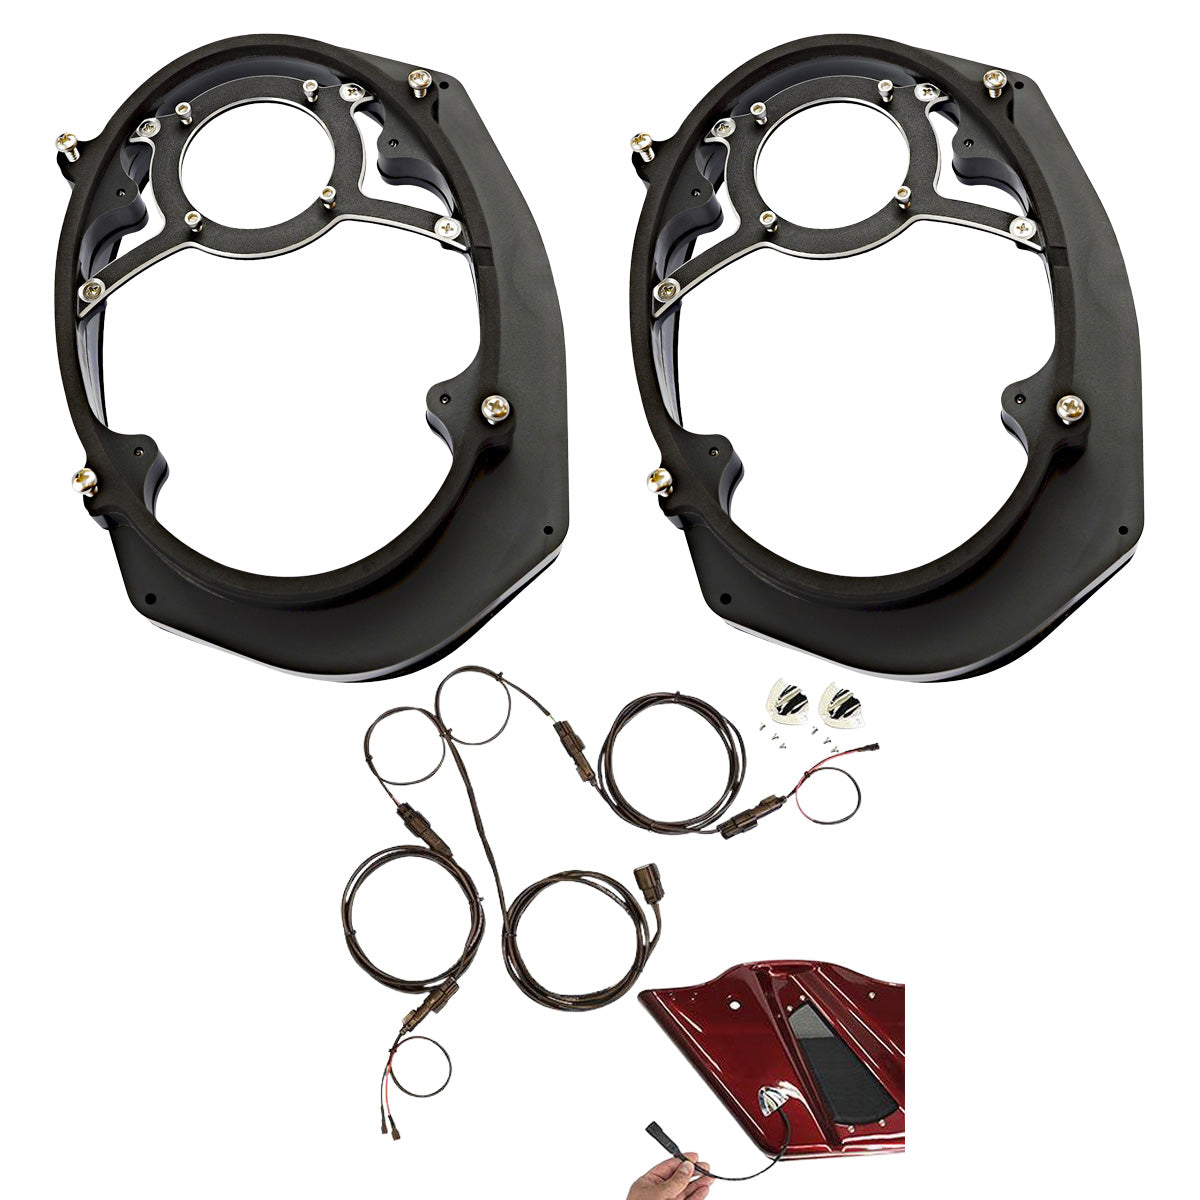
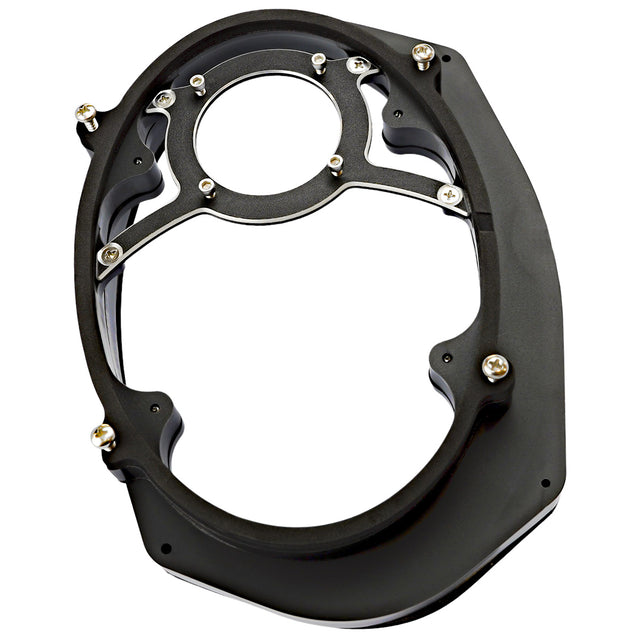
Harley 5x7 to 6x9 Speaker Adapter Kit for Factory CVO Lids 2014-2023
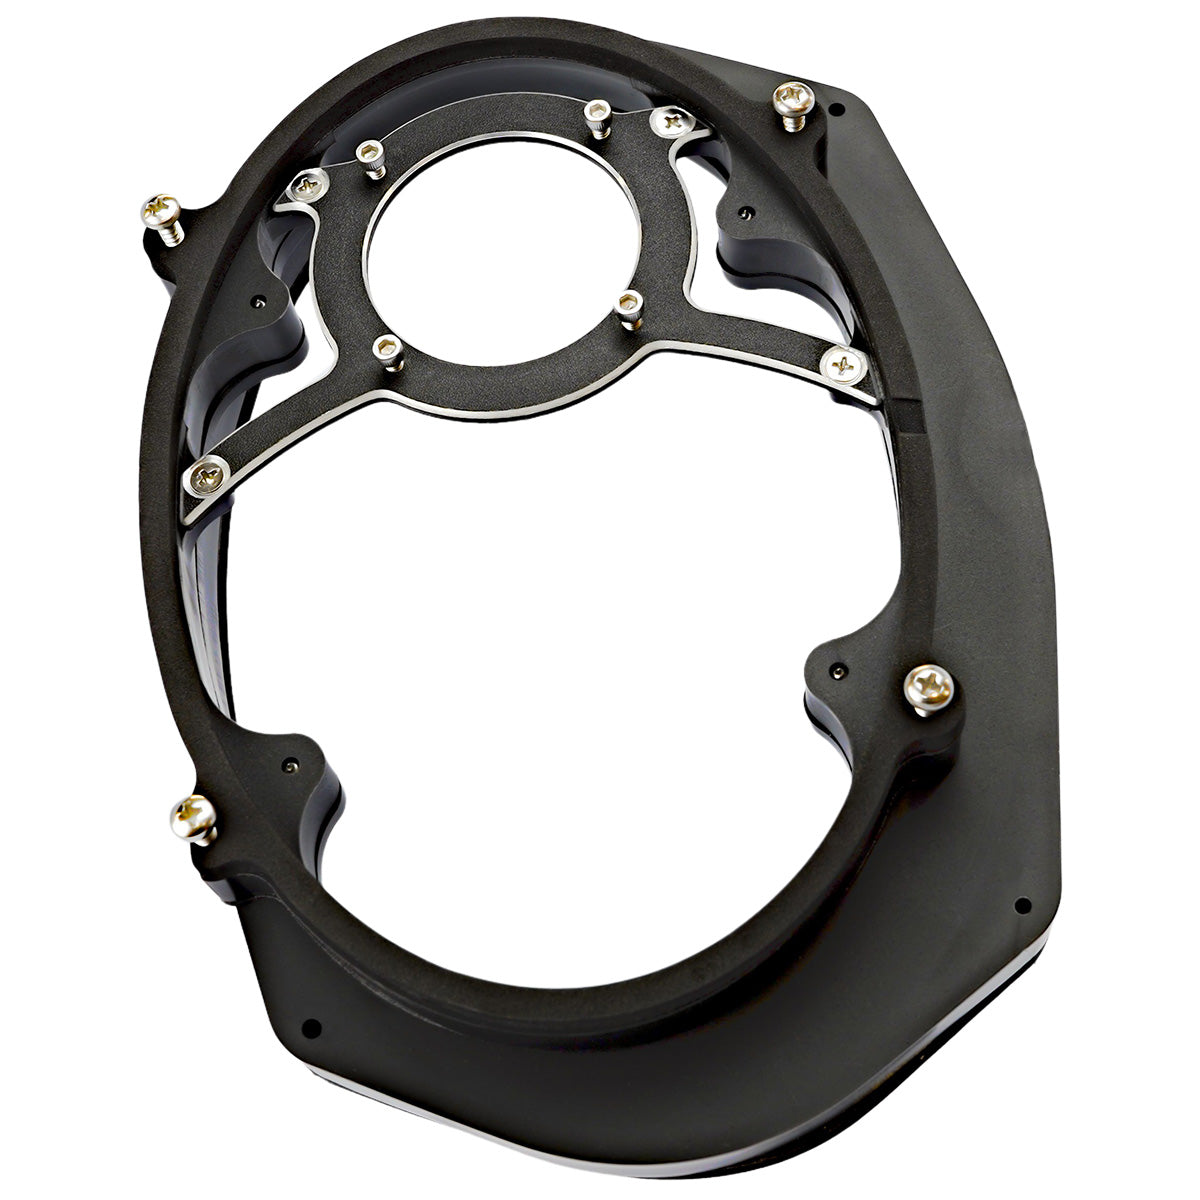
Upgrade your Harley-Davidson Touring bike audio system with our robust 5x7" to 6x9" speaker adapter kit, designed for 2014–2023 models equipped with factory CVO Speaker Lids or exact factory replica CVO speaker lids. Experience superior sound quality and performance on every ride.
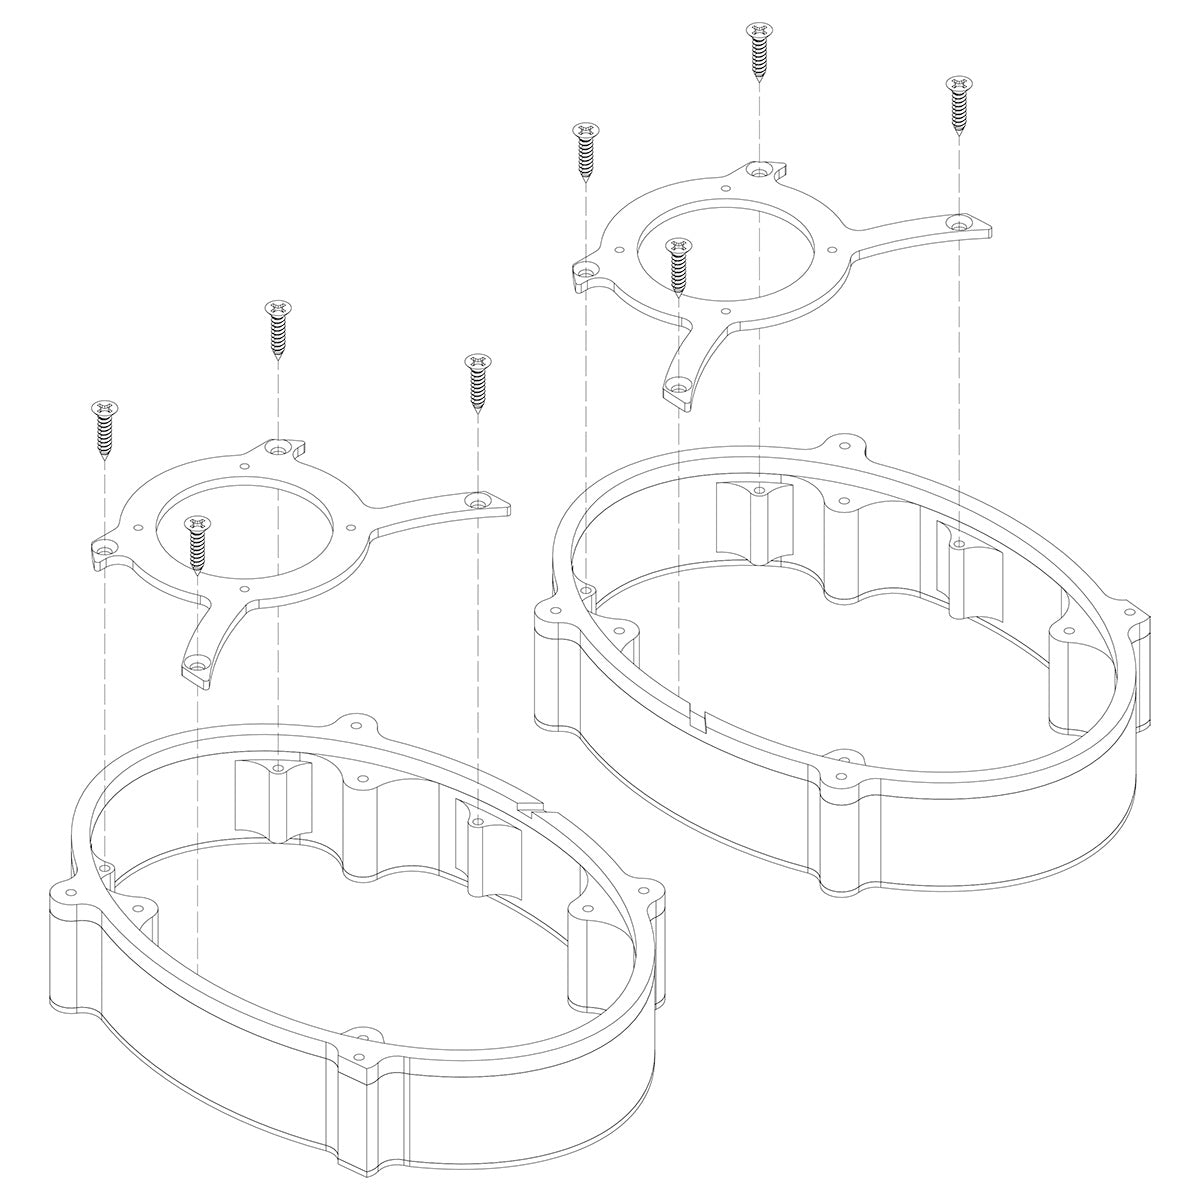
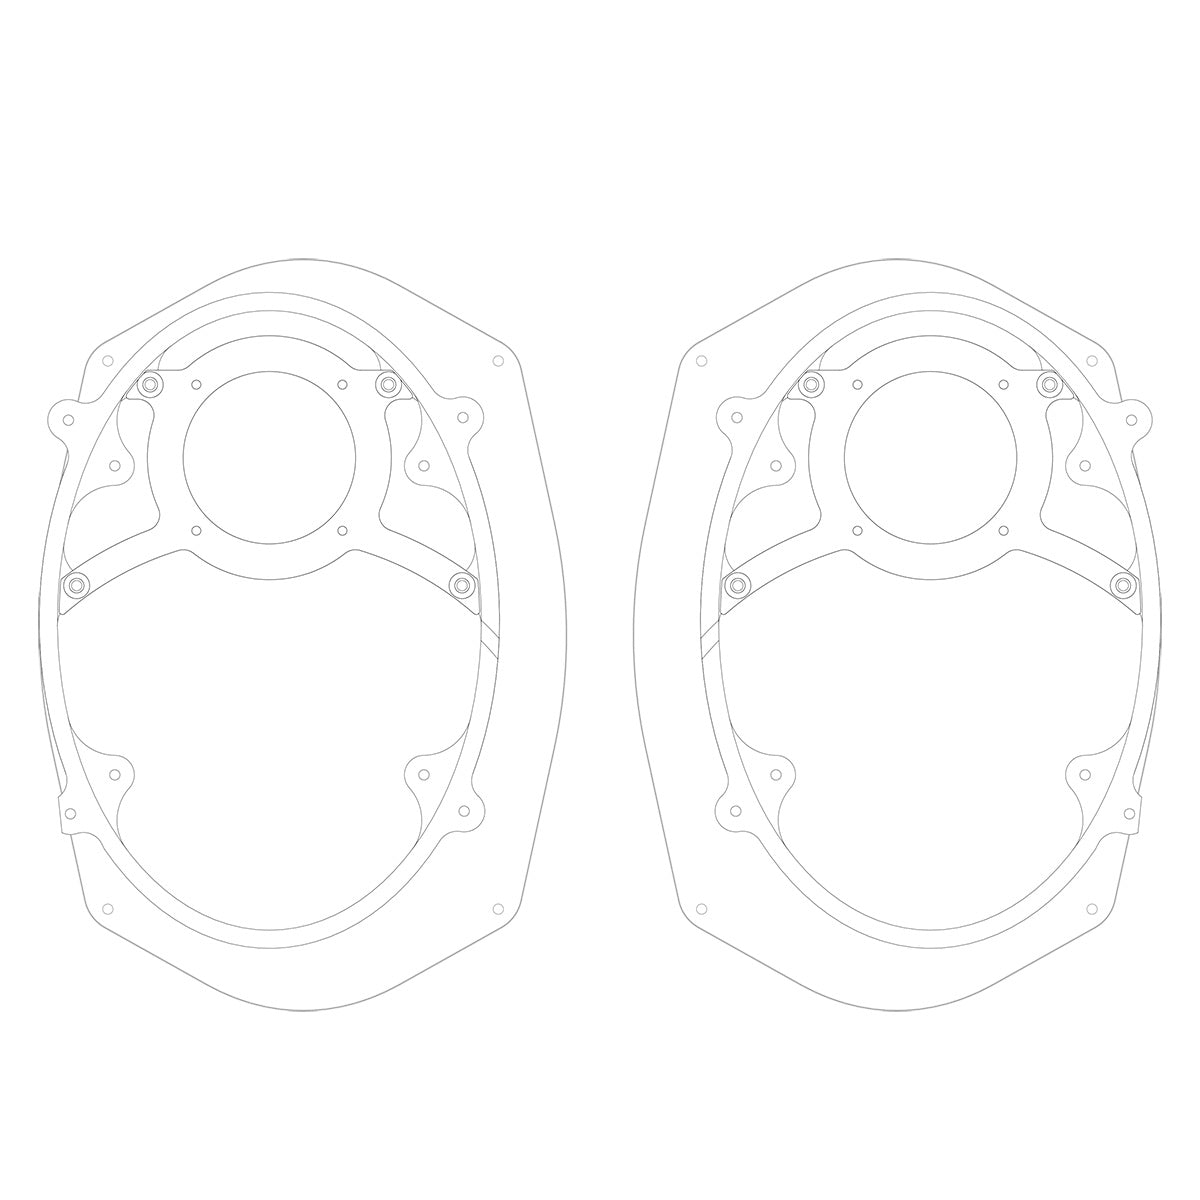
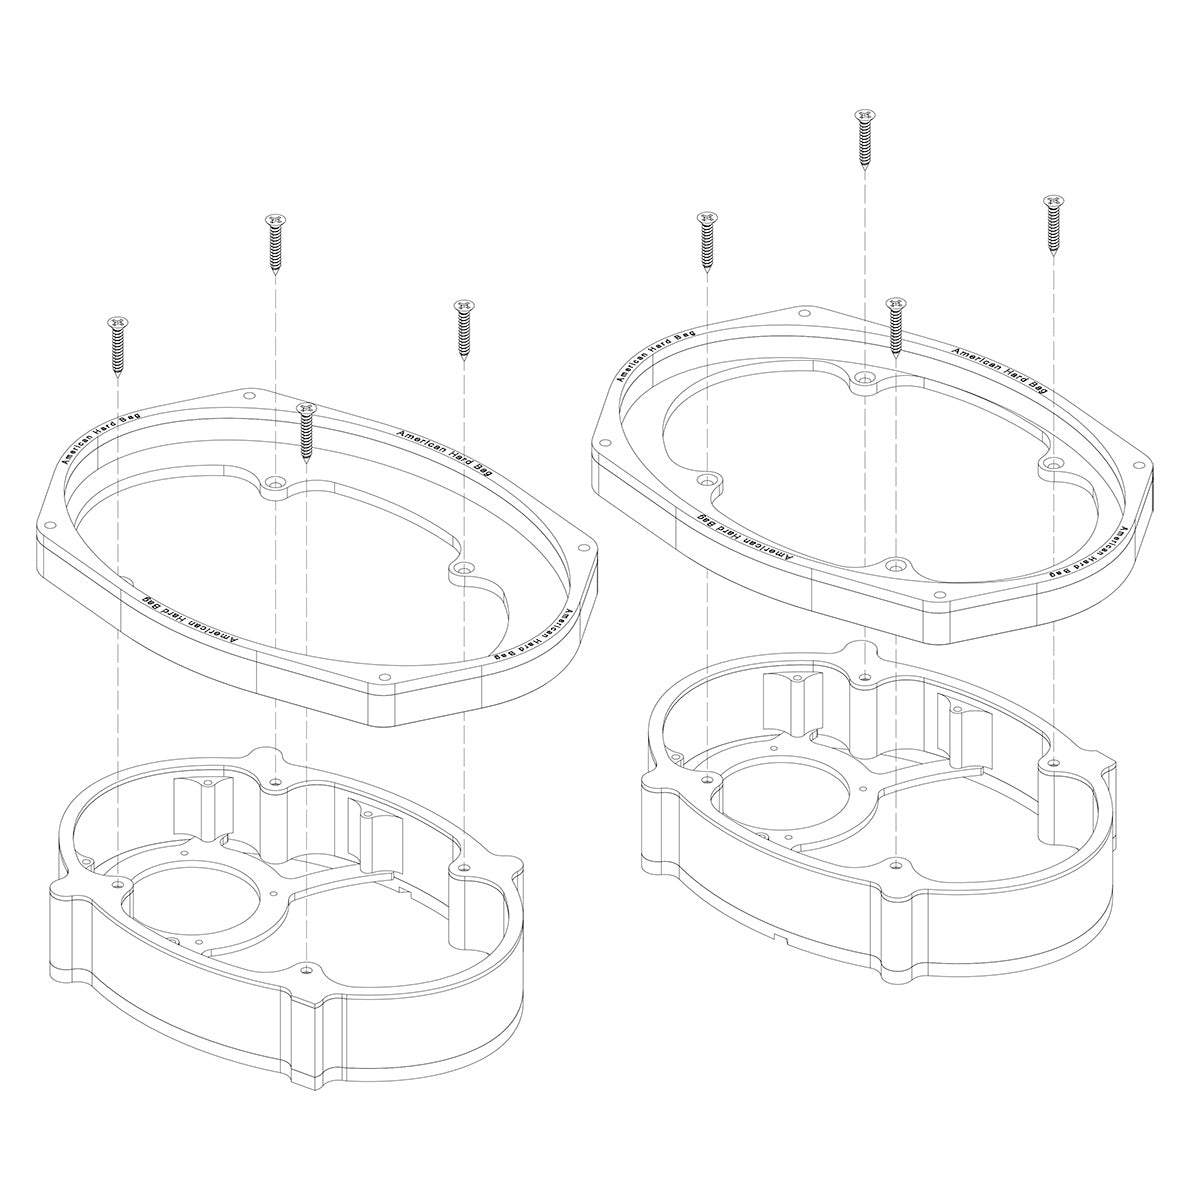
Transform your motorcycle's audio experience by replacing the factory-installed 5x7" speakers with powerful 6x9" mid-bass drivers. Our adapter kit is engineered for Harley-Davidson Touring CVO models from 2014 to 2023, ensuring a seamless fit with factory or exact replica CVO speaker lids.
Installation requires modification of the factory speaker lids. The integrated plastic basket on the underside of the speaker lid must be removed, and the surface ground flat to mount the adapter. This process can be efficiently completed using an oscillating cutting tool or a die grinder with a Roloc disc.
Elevate your ride's soundtrack with this comprehensive adapter kit, designed for Harley enthusiasts seeking top-tier audio performance without compromising on style or functionality.
Payment methods
Your payment information is processed securely. We do not store credit card details nor have access to your credit card information.
Overall rating: 4.888889 / 5 from 9 reviews.
Review topics: [].
"They fit perfect"
"Great fit and finish"
"Beyond expectations"
"Although the install is labor intensive the adapters work quite well. I am curious as to the use of the rivnuts. It isn’t the most sturdy connection. I typically add a nut to the bolt as well as the rivnut itself. All in all it’s a good product."
"Fast delivery and item was as described."
"This is such a great kit. Everything is well thought out. The only thing I would recommend is supplying black crush nuts and shorter screws. A little bit of black nail polish fixed them right up. I would highly recommend this to anybody interested in 6x9’s in stock CVO lids. My Dewalt oscillating tool was the MVP in the installation."
"Perfect fit every time I have used this American Hard bag kit."
"Great product, one of the few companies that produces this adapter. great customer service and communication, I had an item that was broken in shipment, they shipped a replacement immediately."
"Great product. Excellent customer service."
Upgrade your Harley-Davidson Touring bike audio system with our robust 5x7" to 6x9" speaker adapter kit, designed for 2014–2023 models equipped with factory CVO Speaker Lids or exact factory replica CVO speaker lids. Experience superior sound quality and performance on every ride.
Transform your motorcycle's audio experience by replacing the factory-installed 5x7" speakers with powerful 6x9" mid-bass drivers. Our adapter kit is engineered for Harley-Davidson Touring CVO models from 2014 to 2023, ensuring a seamless fit with factory or exact replica CVO speaker lids.
Installation requires modification of the factory speaker lids. The integrated plastic basket on the underside of the speaker lid must be removed, and the surface ground flat to mount the adapter. This process can be efficiently completed using an oscillating cutting tool or a die grinder with a Roloc disc.
Elevate your ride's soundtrack with this comprehensive adapter kit, designed for Harley enthusiasts seeking top-tier audio performance without compromising on style or functionality.
Would you like to add a backbone harness to connect your 6x9's to your aftermarket Fairing Amp?