 Sold outUp to 29% off
Saddle Tramp
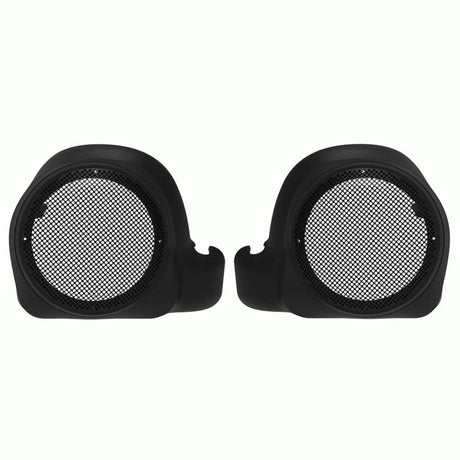
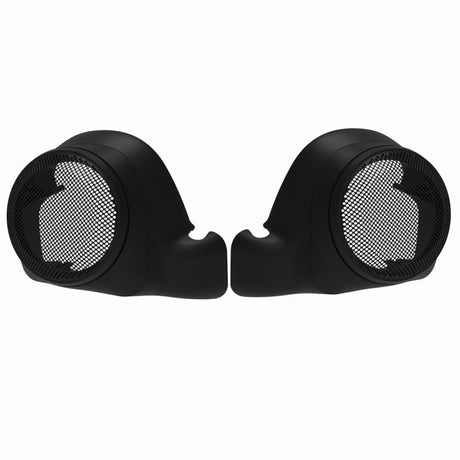
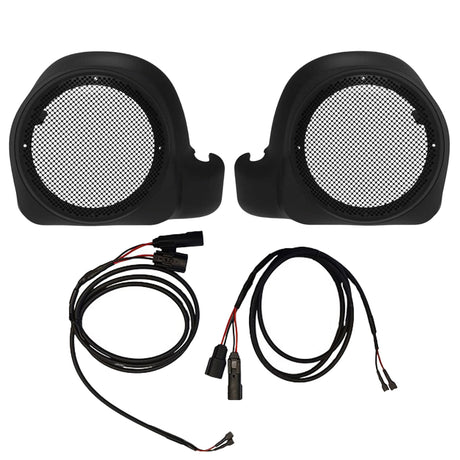
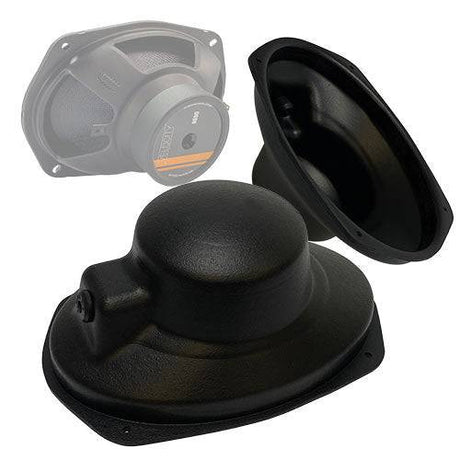
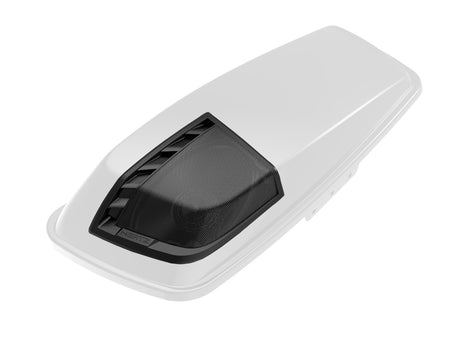
Liquid (Twin) Cooled Lower Fairing Speaker Pods Saddle Tramp BC-HDLFP
Sale price From $16999 Regular price $24000Unit price /Unavailable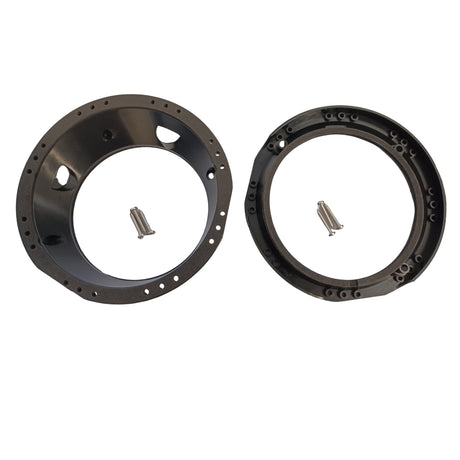
AmericanHardBag.com
5.25"-to-6.5" Fairing Speaker Adapter 98-13
Regular price $2500Unit price /Unavailable New arrival
American Hard Bag
6.5" Fairing Speaker to Pod Gasket IP-6.5-Gasket
Regular price $899Unit price /Unavailable
American Hard bag
New! Harley Lower Fairing 1/2" EVA Speaker Spacer
Regular price $2999Unit price /Unavailable
American Hard bag
Rigid Sealed 6x9 Baffles for Harley Lids
Regular price $8999Unit price /Unavailable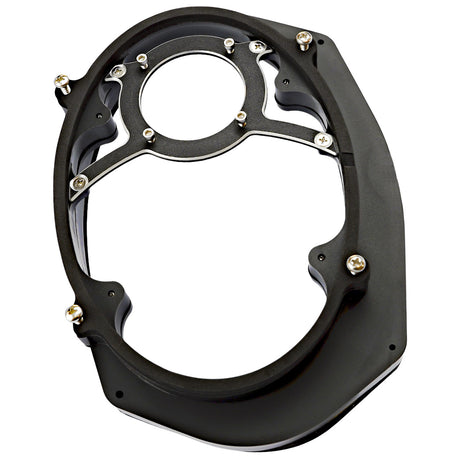
American Hard bag
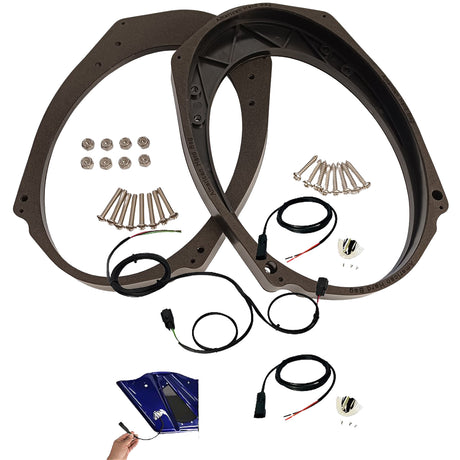
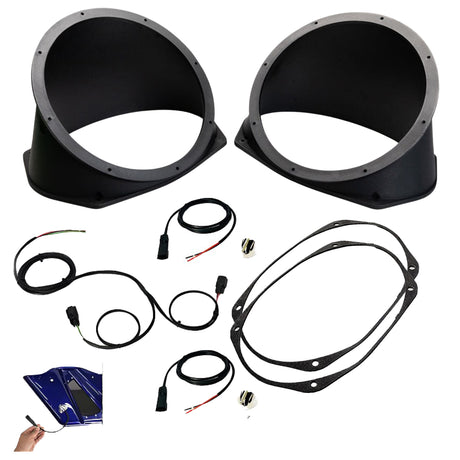
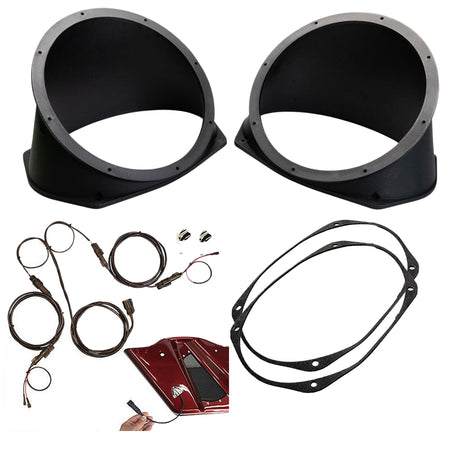
Harley 5x7 to 6x9 Speaker Adapter Kit for Factory CVO Lids 2014-2023
Regular price From $23999Unit price /Unavailable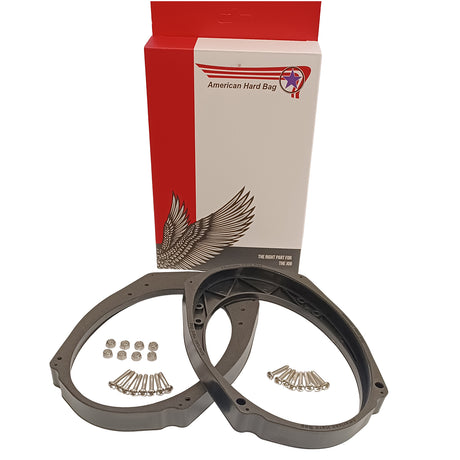

American Hard bag
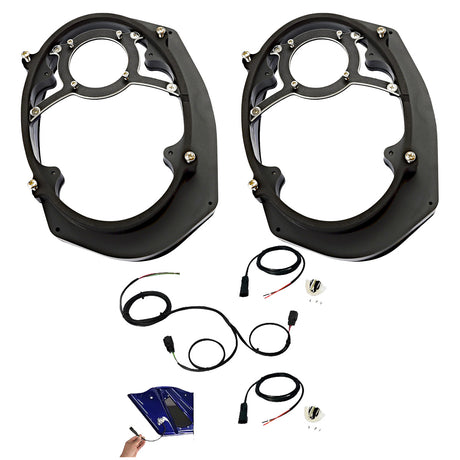
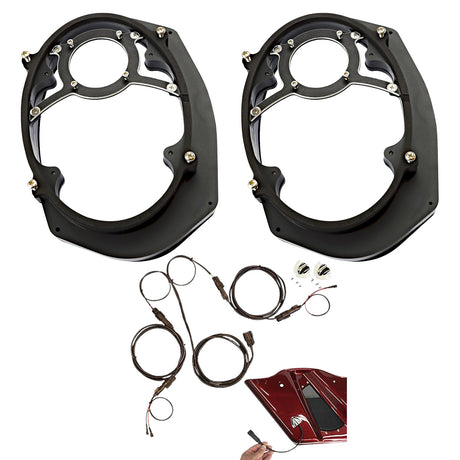
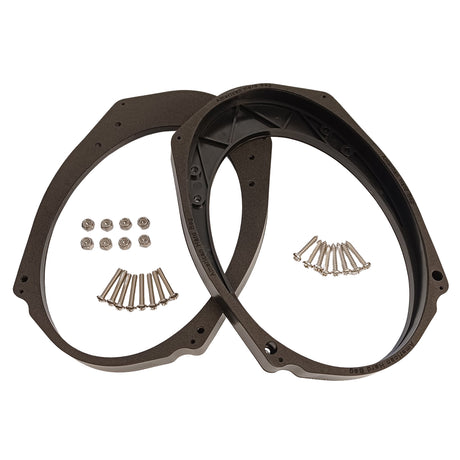
Harley 5x7" to 6x9" Speaker Adapters for Saddlebag Lids 98-13
Regular price From $14999Unit price /Unavailable
American Hard Bag
Pancake Horn Tweeter Mount for 6x9 1998-2023
Regular price $13999Unit price /Unavailable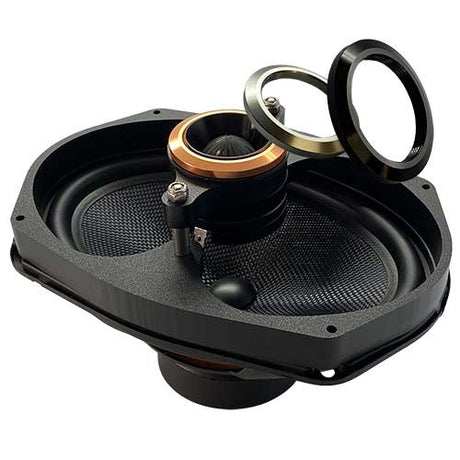
 Sold out
American Hard bag
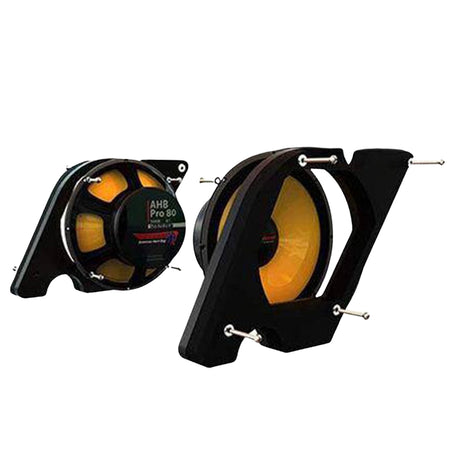
Aggressor Pro 80 Single 8" L & R Woofer Mount Kit
Regular price $29999Unit price /Unavailable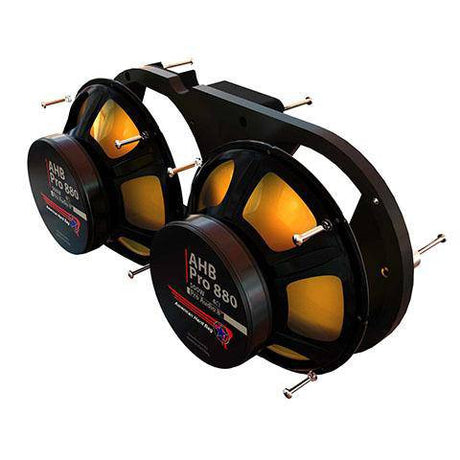
American Hard bag
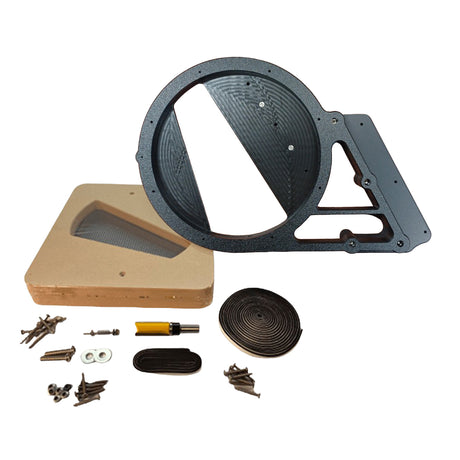
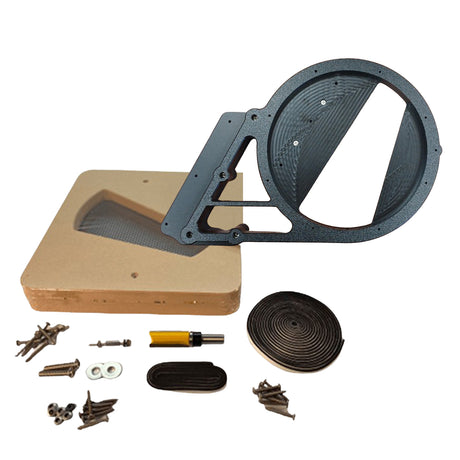
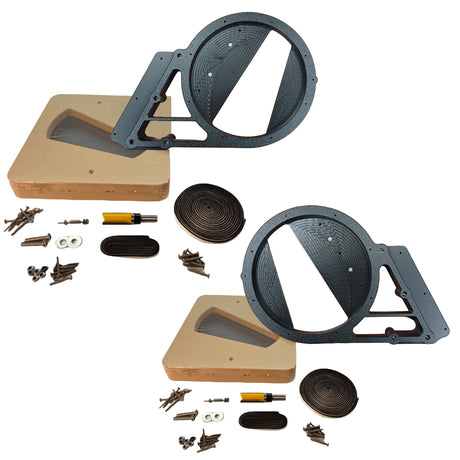
Aggressor Pro 880 Twin 8" Full-Range Woofer Mount
Regular price From $29999Unit price /Unavailable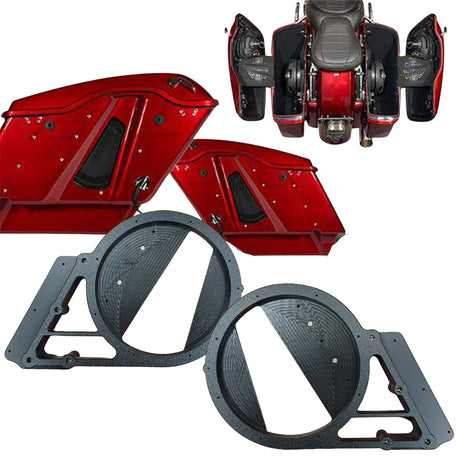
 Sold out
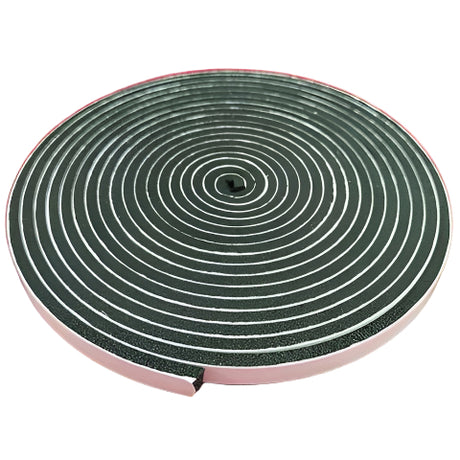 Sold out
American Hard bag
1/4"-Wide Speaker Gasket for Harley Systems
Regular price $699Unit price /Unavailable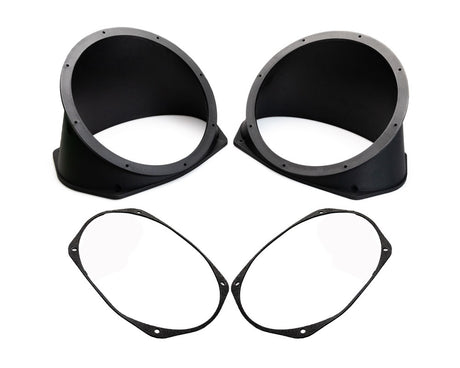
American Hard bag
8" Speaker Adapters for Lids Equipped with 6x9" mounts
Regular price From $9999Unit price /Unavailable


